Step 1: Pick the Best AI Image Generator
Hey everyone! Today, we’re diving into how easy and accessible it is to create images with artificial intelligence (AI). You don't need complicated software or expensive hardware. In just a few steps, you can turn the visuals in your head into reality. In this post, I’ll walk you through how to generate images using free AI image creation tools, step by step. If you're ready, let’s get started.
There are plenty of free AI image generators available today. These tools take your text descriptions, or prompts, and turn them into visuals. Popular options include DALL-E 2, which offers a free trial, Midjourney, which requires a subscription but also provides trial opportunities, and Craiyon, which you can use completely for free.
The best way to figure out which one is right for you is to try a few. Each tool has its own strengths: one may excel at photorealism, while another delivers much better illustrative results. If you'd like to see a side-by-side comparison, check out DALL-E and Midjourney: Which AI Image Generator is Better?.
Step 2: Write a Descriptive Text Prompt
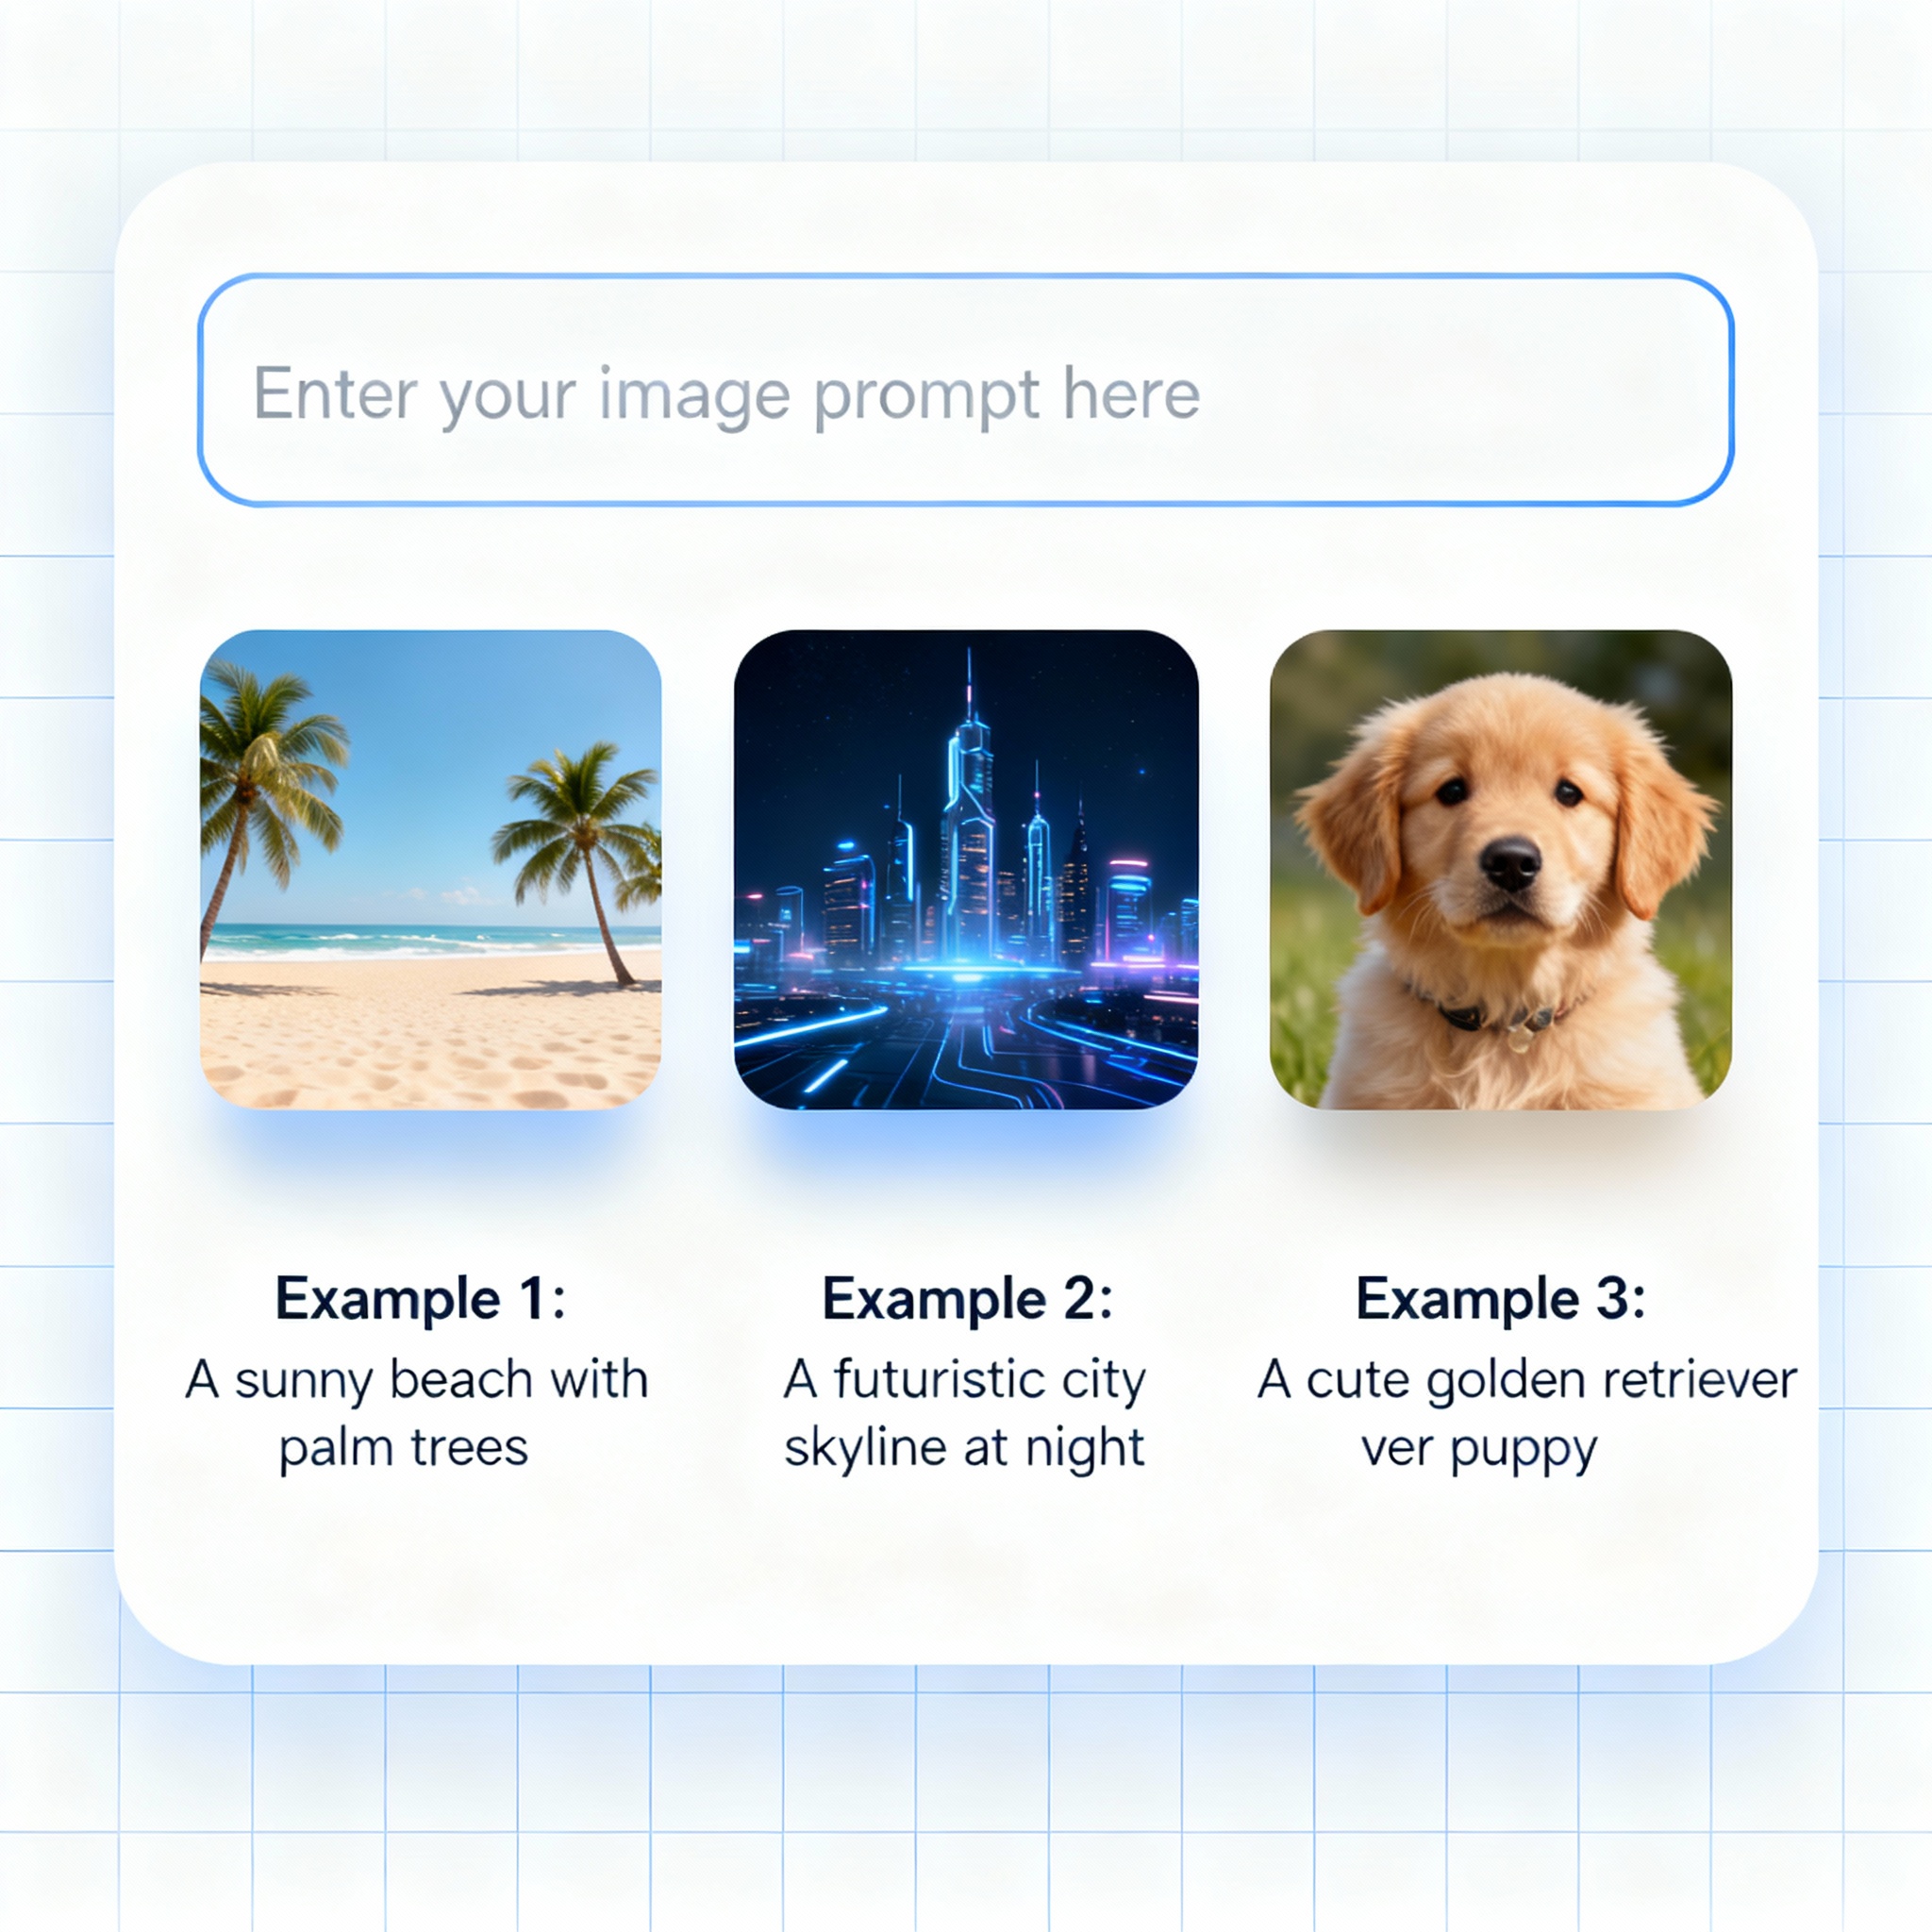
The more detail you include when writing a prompt, the better the AI can match your idea. A prompt like "sunset by the sea, warm colors, realistic style" is a strong starting point. Adding details such as style, color palette, and lighting directly affects the quality of the output. For more prompt examples, I recommend checking out the Create the Visuals of Your Dreams with AI Photo Prompts content.
- Remember, the more descriptive you are, the better the AI will understand you.
- Tip: You can get the best results by experimenting with different prompts.

Step 3: Watch the AI Magic
After you enter your text prompt, the AI gets to work creating the image. Depending on the tool and server load, this can take anywhere from a few seconds to a few minutes. But what if the result isn’t quite what you expected? Just tweak your prompt and try again; that’s a perfectly normal part of the process.
Most tools generate multiple variations at once, so you can choose between different interpretations of the same prompt. There’s no need to get frustrated with an output you don’t love; even adding an adjective or changing the lighting can make a big difference in the result.

Step 4: Download and Use the Image
If you like the generated image, you can download it and use it however you like. Share it on social media, add it to your blog post, or print a hard copy. Creating visuals with AI is one of the fastest and most practical ways to turn an idea into something tangible. And this is only the beginning; new features are arriving every month, and the quality of AI-generated images keeps improving.
Step 5: Keep Experimenting!
Every attempt is a chance to learn something new and get an even better result than before. Prompt writing is a skill that grows over time, and the more you practice, the better you’ll understand the tool.