Transform Text into Video: 5 Quick and Easy Steps
Today, creating video content is no longer tied to professional equipment or extensive editing sessions. You can effortlessly convert a piece of text into an engaging video in just minutes. Text-to-video tools do exactly that: they transform blog posts, product descriptions, or lecture notes into captivating visual content. In this post, we'll walk you through this process in five straightforward steps.
The first step is selecting the right tool. With numerous text-to-video platforms available, some are completely free while others require a monthly subscription. To determine which one suits your needs, ask yourself a few essential questions: How frequently will you be creating videos? How crucial is output quality? What's your budget? For example, aibudur.com offers 50 free credits for newcomers, enabling you to create videos without any artificial intelligence experience. Most of these tools feature ready-made templates and style options, simplifying the quest for visual consistency.
The second step involves crafting the text. This stage is critical because your video’s foundation rests on it. Use concise sentences and steer clear of complicated jargon. Consider the questions your target audience frequently poses and structure the text to provide clear answers. For instance, if you're developing a city tour video, using specific information like "A 40-minute walk from the Grand Bazaar to Galata in Istanbul" instead of vague expressions enhances the text's vividness. Remember to select words that will harmonize with visual elements.
The third step is uploading your text to the tool and tweaking the settings. You can either type the text directly into the interface or upload it from a pre-prepared file. Afterward, select your template, along with font styles, background colors, and any available background music. At this point, the plethora of choices can feel overwhelming; if you're unsure where to begin, start with a simple template and refine it later. Focus on the foundational elements first, saving fine-tuning—like transition effects and animation speed—for the end.
The fourth step is to preview and make corrections. After finalizing all settings, watch your video from start to finish. A misplaced syllable, an awkward transition, or an off-center image… it’s far easier to spot these issues at this stage. If needed, revise the text or adjust visuals. I recommend going through this review cycle at least twice; errors missed during the first viewing will often reveal themselves during the second.
The fifth and final step is downloading and sharing your creation. Once you’re satisfied with the video, choose the appropriate format and download it. MP4 and 1080p are typically the safest options for YouTube, while vertical formats and shorter lengths are ideal for Instagram Reels. Keep in mind each platform's unique requirements, as the same video may yield different results across different channels. Once downloaded, you can share it on your social media profiles, website, or email newsletters.
Benefits of Text-to-Video Creation
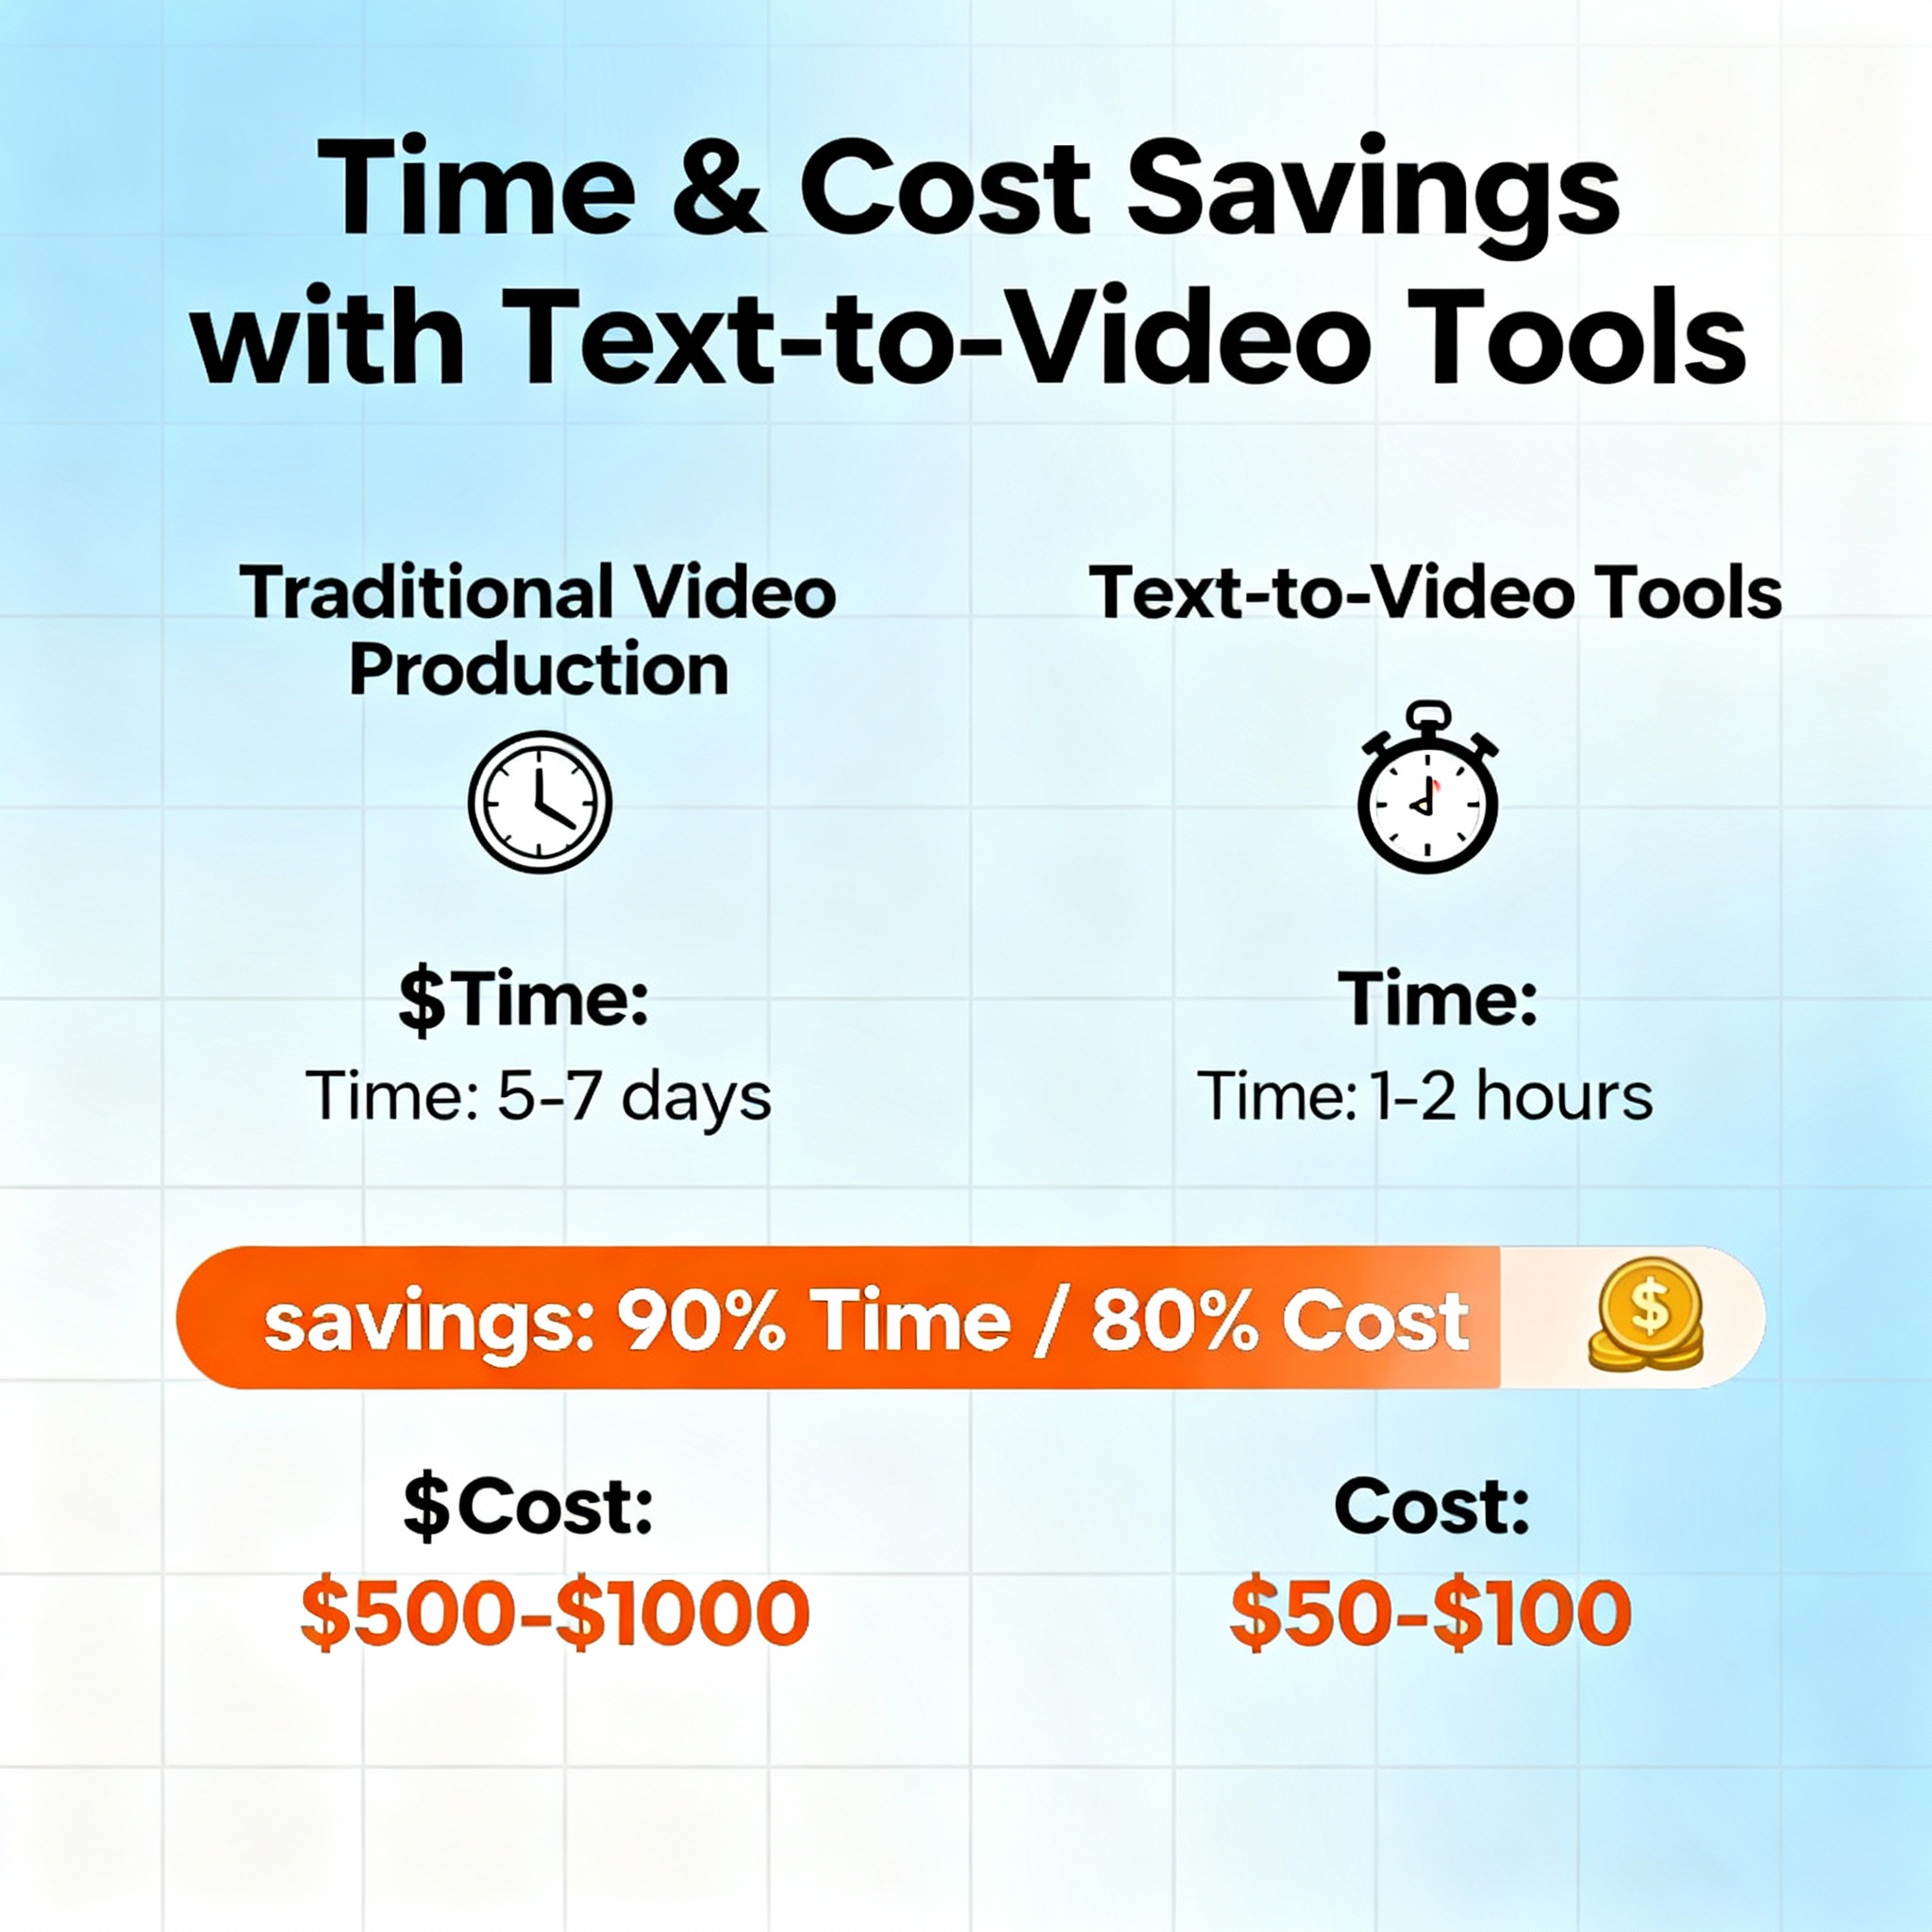
The most significant benefit of text-to-video tools is undoubtedly time savings. Consider the traditional editing process: filming, audio editing, subtitling, color correction... All these steps can easily consume 5-6 hours for a 3-4 minute video. With text-to-video tools, the same content can be ready in just 15-20 minutes.
Cost factors also play a crucial role. Professional software like Adobe Premiere typically costs around $50-60 monthly; factoring in the cost of computer hardware and stock image subscriptions makes this tally grow rapidly. Most text-to-video tools begin with free tiers, making a noticeable difference for individual creators or small teams with tight budgets.
What about creativity? Does utilizing ready-made templates stifle creativity? In reality, it can enhance it. By removing technical barriers, you can concentrate on content, the construction of your message, and which visuals support each sentence. For example, if you're presenting a poem, selecting emotional music and harmonious visuals can captivate an audience that the written version might not reach. The complimentary AI tools available on aibudur.com make this process even more accessible. If you're interested in exploring the topic from another angle, check out the Text-to-Video Creation: A New Era article.
Free Text-to-Video Creation with Aibudur.com
Aibudur.com is a platform that curates several free artificial intelligence tools, including text-to-video, all in one place. Upon registering, you’re granted 50 free credits, allowing you to dive right into video production without any technical background. Simply input your text, pick a template, and your video will be generated.
This tool is particularly effective for social media content. Imagine you've launched a new product and want to promote it on Instagram. List the three key features of your product in bullet points, select a fitting template, and you'll have a visually appealing video ready for sharing in under 10 minutes. Alternatively, if you're making a weekly event announcement, turn the event details into text and craft a visual advertisement using your free credits. For a more detailed step-by-step guide, check out the Step-by-Step Guide to AI Text-to-Video Creation.
Educational applications are also quite popular. You can upload your lecture notes or succinct summaries of topics into the tool, converting them into a visual narrative. When given the option, students often find video content far more memorable than text. The platform also offers editing features such as animations, transition effects, and subtitles to create a structured look for your educational videos.